

Our NO-SEW Fleece Blanket Kit is a mini DIY project that is the perfect summer holiday activity to do at home with kids and adults alike!
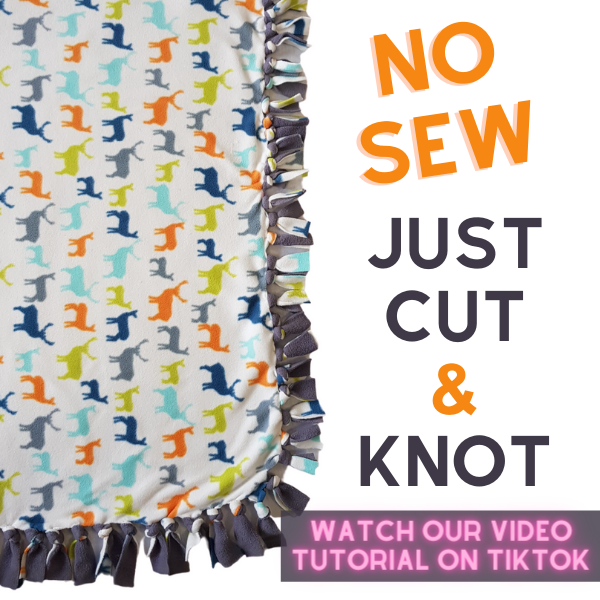

STEP 1
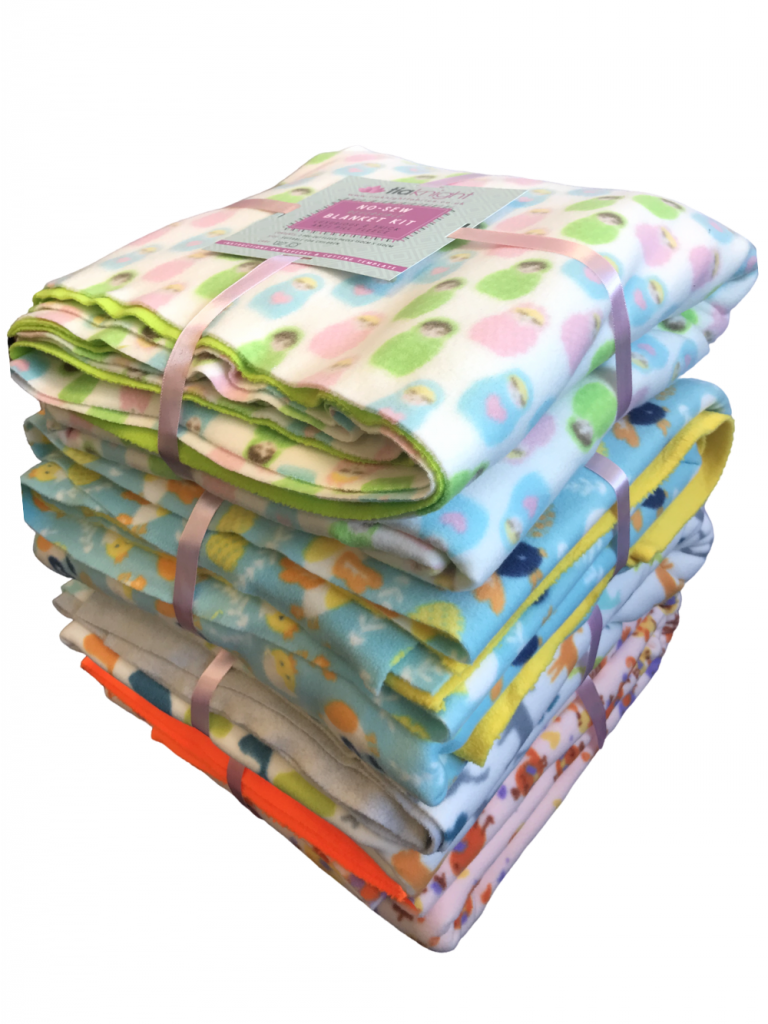
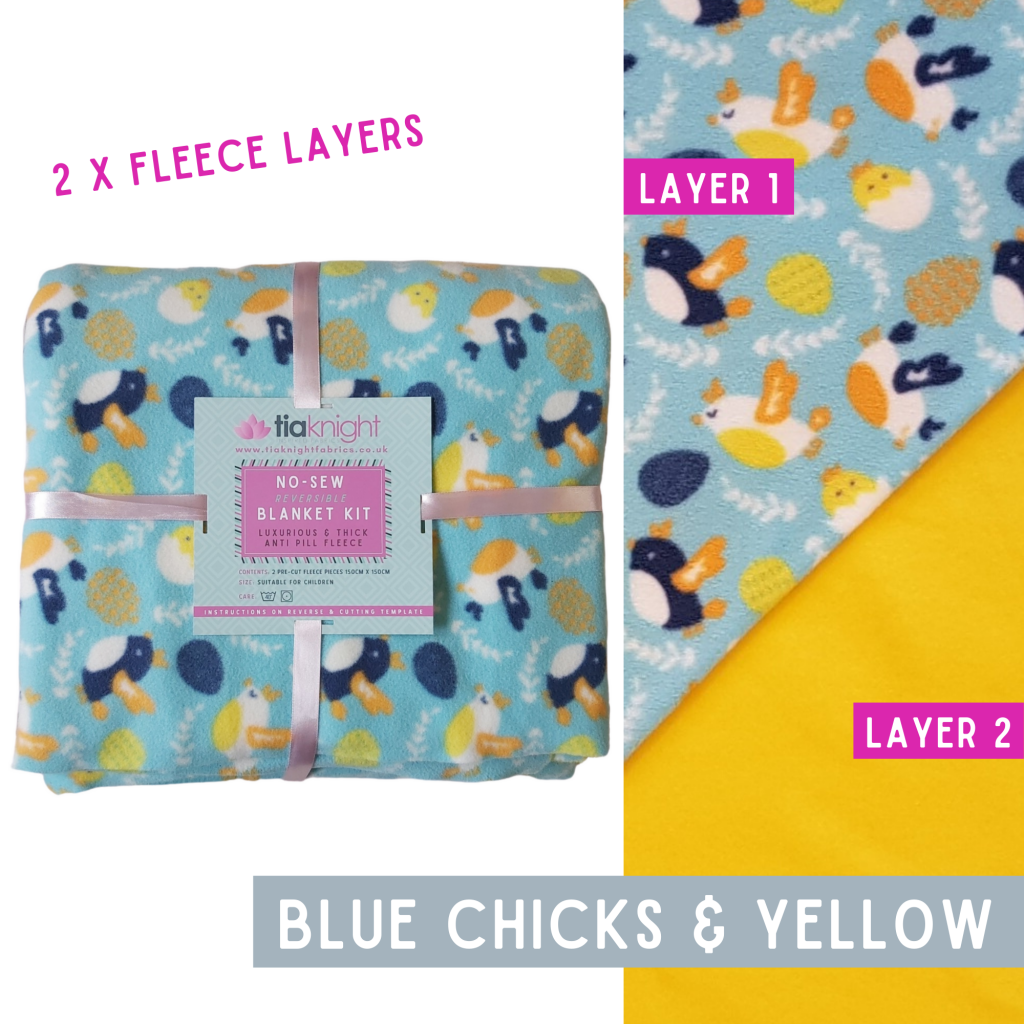
Open up your kit and you’ll see two pre-cut pieces of gorgeous, thick polar fleece. Don’t throw away the card label- you will need it for later! Lay both pieces on top of each other other on a large surface- make sure you allow extra room (this makes it easier for later!) Lay the correct side facing outwards and the wrong side facing inwards. The correct side on the print is richer & vivid in colour. The correct side on the solid colour is fluffier/brushed.
STEP 2
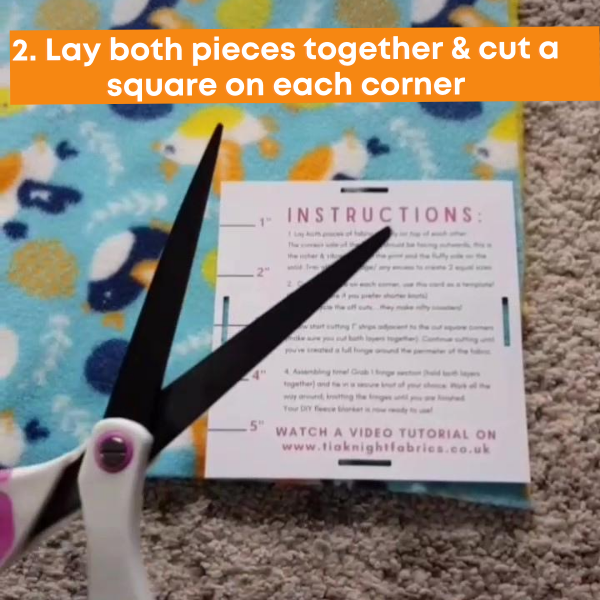
Chop chop, it’s time to use your scissors. Firstly check to see if your layers are equal, if they’re not trim the perimeter to create 2 even(ish) layers. Now you need to cut a 6″ square on each of the 4 corners. You don’t need a tape measure! Just use the template provided.
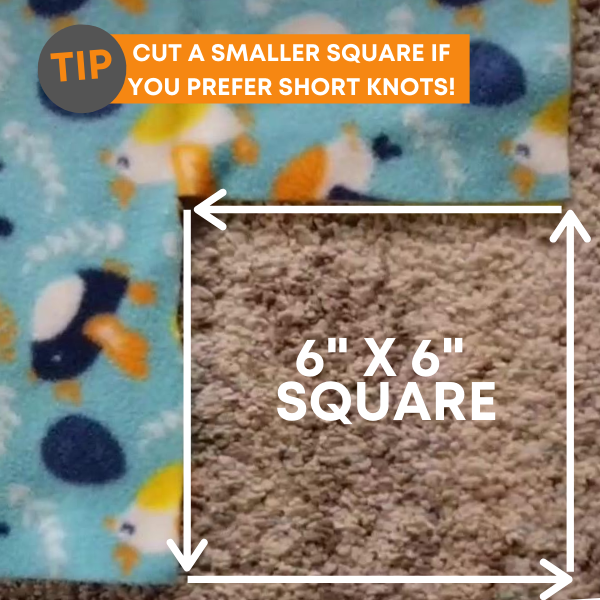
If you prefer shorter knots in the finished results you can cut a smaller square- we would recommend 5″, anything shorter becomes quite difficult to knot!
STEP 3
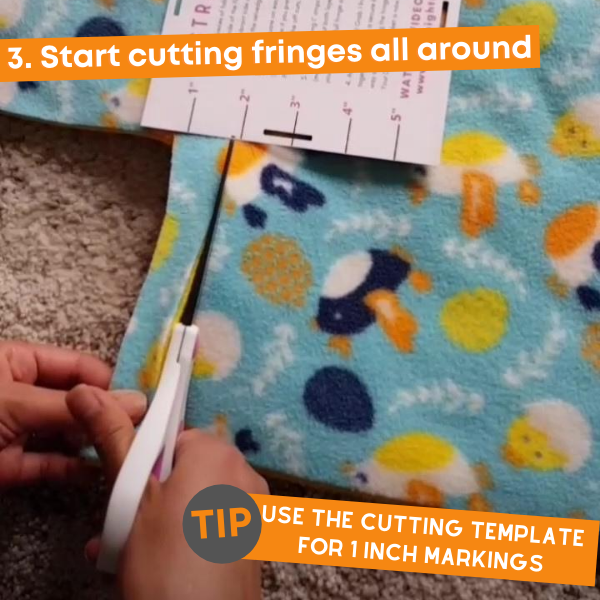
It’s time to cut the fringes! Use the template provided to cut 1″ strips adjacent to the square. Do this all the way around until you have a fully fringed perimeter!
STEP 4
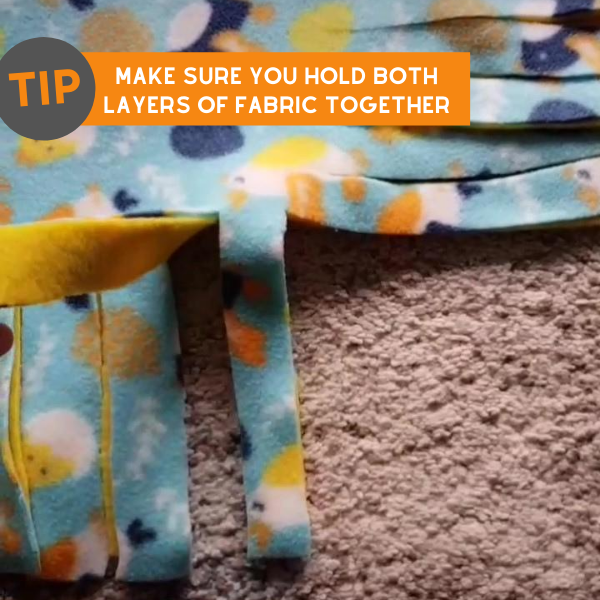
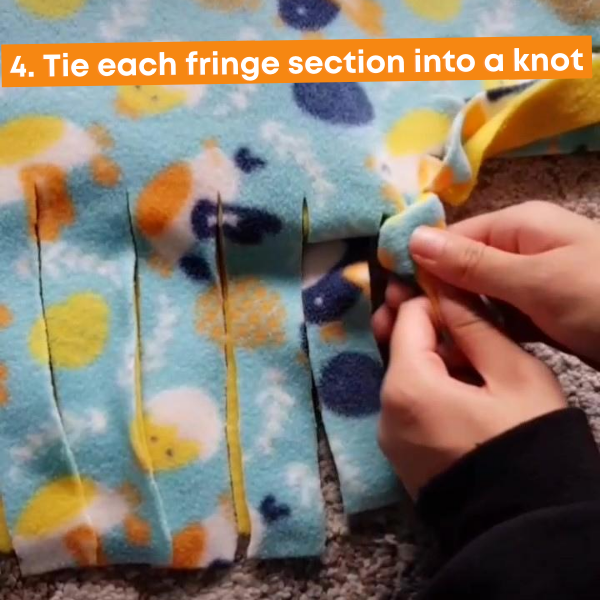
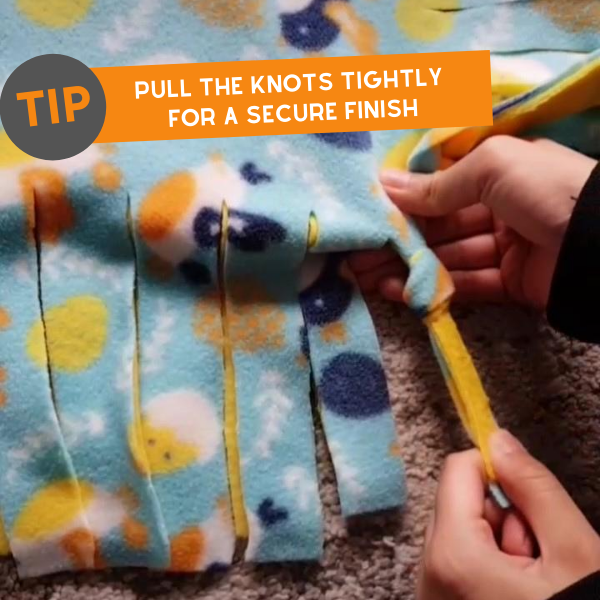
Assembly time! Use each fringe section to tie a secure knot of your choice. Make sure you hold both layers together! Pull tight for a secure and neat finish!
STEP 5
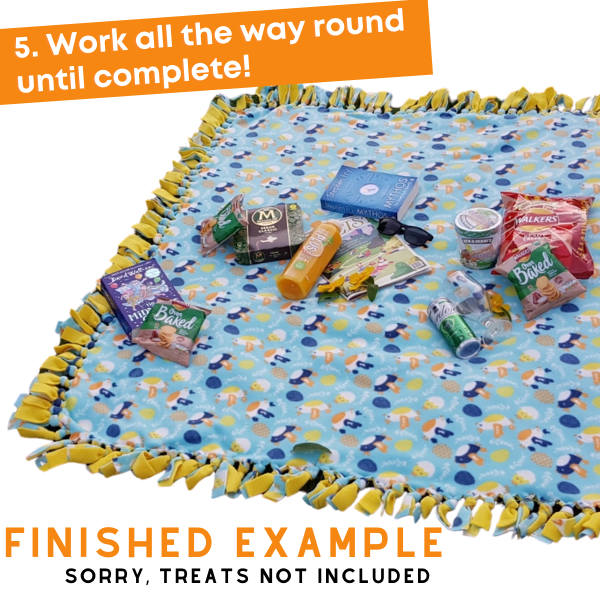
Work all the way around knotting each fringe section securely. A few helping hands at this stage will make the process much faster! Kids can get involved too 🙂 TIP: When doing the knots try to loop over the contrasting side on the top, it gives a lovely finish! Work all the way around until all the fringe sections are tied….and there you have it, a home-made double sided blanket!
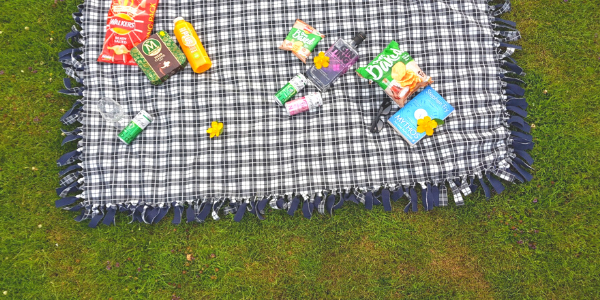

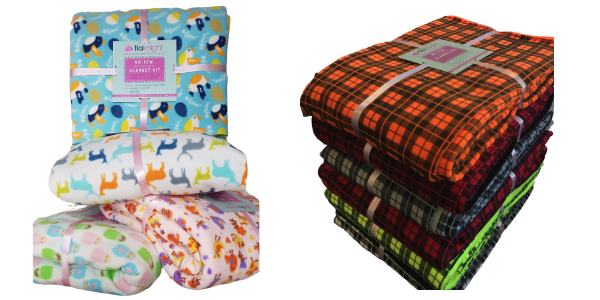
If you’ve made a no-sew blanket from our kit, send us a picture below or tag us on social media-. We always love to see your fabric creations
@tiaknightfabricshttps://www.instagram.com/tiaknightfabrics/